Friday, August 17, 2012

Vacay 2012

Back in June Stephen and I ventured out west for a little bit of business and a little bit of pleasure.  Stephen had a convention for work in Denver, CO and ever since he found out about it he insisted that we tie our vacation in with it.  I'm not gonna lie: I wasn't thrilled with the idea.  You see, while I would LOVE to go out west and visit states I've never been to, I don't want that to interfere with a good trip to a tropical location (I do realize how snotty this sounds - judge away).  I'm one of those people (are there any others out there like me?) who would LOVE to live in dreamland where every year a trip is taken to a new location in this great nation of ours AND to an exotic location (I told you - snotty).  So, you can imagine how I felt when Stephen came home talking about this "great" idea how I wasn't initially on the band wagon.  Nonetheless the trip was booked and the time came to take it.  Needless to say, we had a fantastic time and I look forward to our next trip to visit uncharted states and see more of this beautiful country we call "home".  So, if you're interested, I'll share with you a little info/pics of our memorable trip and hope to not bore you :).
Itinerary: 
Saturday, June 9 leave for Denver, CO and enjoy a nice breakfast layover in Dallas, TX visiting our great friend, Jenn :)
June 9-12 Denver, CO

On Monday night Stephen and I had the privilege of meeting a dear friend from high school, Katie, and her husband, Josh for Ice Cream.  We enjoyed GREAT ice cream with GREAT company and an amazing view of downtown Denver!

Katie, being Katie.

The 4 of us

Tuesday, June 12 Conference is ova'!  Rent a car and drive an hour to Breckinridge, CO for the night


We ate dinner at this fun little restaurant in downtown Breckinridge called, "The Mother Loaded Tavern".  It was super yummy!


The view from our hotel room right before we left.  Seriously, Breckinridge was breathtaking.  I want to go back there SO badly!

Wednesday, June 13 hit the road, Jack! Off to Rapid City, SD!
On the way to Rapid City we drove on U.S. 71 and traveled through Ardmore, SD.  Turns out Ardmore is a ghost town...SO interesting!  Click here to read more about it!

We arrive and head straight to see Crazy Horse....Crazy Horse is seriously crazy!  They began carving Crazy Horse out of a mountain in the Black Hills in 1947 and they are no where near done with him!  
 A model of what Crazy Horse will look like when he's completed.  He'll be so large that the ENTIRE carving of Mt. Rushmore would be able to fit in his HEAD alone...NUTS!
 This is how far they are today.  You can see that his face has been carved, the area under his arm has been carved and they've marked the side of the mountain where his horse will be carved as well. 


I told Stephen to try and pick his nose....fail.

After many attempts we have a closer attempt at picking Crazy Horse's nose :)

This is a model carving of Crazy Horse.  The real Crazy Horse is 30x this size.  That's humongous!


Still Wednesday, June 13 off to Mount Rushmore!
 Mount Rushmore as we were walking in.  Quite possibly one of the most patriotic places in our country.
 Someone stopped us and told us how they wanted to carve our faces out of a mountain.  Yup.

So cool.

Thursday, June 14 Bear Country time!
Bear Country is a wildlife park that you drive through and you see the animals up close and personal.  The only thing standing between you and them is your car.  It was super cool!


Still Thursday, June 14 hop in the car and drive 2 hours to the Badlands National Park
On your way to the Badlands you drive in and out of the park.  Although this sign makes you think we just left, we actually hadn't gotten there yet.  Those tricksters!


 The Badlands are seriously bad and I mean that in a good way (ya dig?).  It was unreal to see how different this part of our country was.  God is definitely apparent in the Badlands.  Beauty is all around you!

Stephen and I were going to go on a hike and then I saw this sign.  As you may recall, this was only a few short weeks after I found a snake in my backyard.  I just couldn't do it.  So we improvised and climbed the structures instead.


I realize this is upside down.  But, when you get it developed, that doesn't matter and I was too lazy to rotate it :)


 Oh, Silly Stephen!

Me and Jason Aldean were tight that day! 


On Friday morning we woke up and drove back to Denver to catch a flight home.  We had a fantastic trip out west.  I so enjoyed driving through states I had never seen before and getting to spend some quality time with Stephen.  While do live together and we are married, we (unfortunately) don't get to spend a ton of quality, intentional time together.  This trip was fun because we got to experience beautiful sites together as well as invest in some good quality conversations.
I look forward to our next national trip.  I'm all for suggestions!  I would love to hear where your favorite place to visit in America is.  This will help spark ideas for our next trip!

Monday, July 2, 2012

Bathroom Re-Do


You know the drill: you buy a house and you instantly inherit the style/design of the previous owners until you get the chance to make your house your house.  This was exactly the case with my half-bath/powder room on the first floor of our house.  The problem with this room is that nothing about it is what I would choose to put in my half-bath...nothing.  When we first looked at the house, I had already started thinking about what I could do to this room to update it and make it more of my own. Before I start breaking down my thoughts, let me share with you the actual room:
 
 Personal Problem #1 with this room: it's wallpapered.  Now, obviously these ferns are somewhat "in" right now (see PB and their fern towels) however, they're just NOT for me.  Unfortunately, Stephen says he likes these ferns...that caused a lot of need for discussion/begging/reasoning :-)

Personal Problem #2 with this room: the cabinet that eats up a ton of this tiny room and the 1980s faucet that adorns this vanity.  Both must go.  


Personal Problem #3 with this room: the ceiling is painted green.  Ugh. Thanks!  I'm not saying that you shouldn't paint your ceiling - I realize that a lot of designers will tell you that this is a great way to add color or points of interest to your room.  My problem with it is that this room is just so small - I'd prefer a white ceiling (again, personal preference).

Personal Problem #4 with this room: I do not like the chandelier in this bathroom.  Maybe it's the wrong design to go with light, maybe it's the fact that it's in the bathroom - I'm not quite sure what it is, but I'm just not feeling the chandelier.  Perhaps if it were in a different room with different design around it I could like the chandelier, but not in this context. 

Now let me introduce you to the new look I'm shooting for in this room:
I am giddy with excitement at the possibility that this room holds!  So excited that I went on ahead and got a little big for my britches...


I got the itch to remove the ferns and they came down super easily - almost too easily!  I'm fairly certain there's no going back now!

Any of you seasoned DIYers out there that have already updated a bathroom in your house and would like to share some good tips for a newbie like myself?  I'd love to hear your advice!


Friday, June 29, 2012

I Love Freebies!

Living in Chicago was SO awesome because I would be walking down the street and see something that someone else had put out for trash that I could see a treasure in.  I know that might disgust some of you, but let me settle your fears and tell you that NOTHING I have ever picked up off the street was in the actual trashcan or dumpster - all were just sitting on the side of the street next to the dumpster (not that I wouldn't contemplate pulling things out of the dumpster if the *right* item needed rescuing!).  I scored this awesome tray off the side of our street that someone else had deemed "trash", as well as this arm chair (Charlie the Chair, if you will....he's still awaiting to be 100% completed, although he's WAY more clothed now than this post leads you to believe).

In March, 2011 I was in our apartment getting ready for our trip to Salt Lake City to visit friends and go skiing.  Our apartment overlooked the side of a high rise building and I could see down into the area that was used for the dumpsters.  Next to these dumpsters, a certain piece of furniture caught my eye...

 I loved everything about this dresser - the size (it's a little bit higher than waist level), the drawers (I love the 2 smaller on top) as well as the pulls!  At this point in time, Stephen and I knew we were going to be moving back to Kentucky sooner than later and that a house was in our near future...furniture was going to be a must!  The only problem with this charming piece was the lack of a top piece of wood.  That's right ladies and gents, this dresser was topless!

{censored!}  Make sure you're 18 or older!!!

Despite Stephen's disbelief, this did not stop me from wanting this dresser to be mine.  My sweet husband went outside in the snow (it's March in Chicago) and carried this sucker down to the dungeon basement of our apartment building.  There it sat until the end of July when we were packing up our moving truck to head back to our Old Kentucky Home.  Our truck was literally filled to the brim and I almost lost this wonderful possession.  In fact, Stephen contemplated (I could see it in his face) trying to convince me to accept my loss and leave Debbie the Dresser in Chicago.  That moment only lasted a couple of seconds as I know he could read the longing on my face!

Fast forward to April, 2012 months after we have moved back to Louisville and Debbie (the Dresser) has been hanging out in our garage yearning for attention.  It was my Spring Break and I knew I needed to make room in the garage (my parent's old dining room furniture is also hanging out in there - even as I type...I haven't gotten around to tackling that monstrosity!).  So, if you ever come across your own slutty dresser that has lived a topless life and needs a face lift, here are the steps I followed:

1. Measured the opening in the top that was missing a wood piece.  Went to Home Depot and picked out a thick piece of wood and had them cut it to size ($18).  Used Elmer's Wood Glue ($6 - big bottle) to glue it into place and then used finishing nails (had them in my little kitchen nail kit from Target) to hammer it in around the perimeter.  

2. After attaching the new top piece, there was still some gaps around the existing trim and the new top.  I applied a liberal amount of wood putty ($8) to fill in the gaps.


3. I impatiently waited for this wood putty to dry and then I used sandpaper that I already had to sand down the wood putty I had put into the gaps.

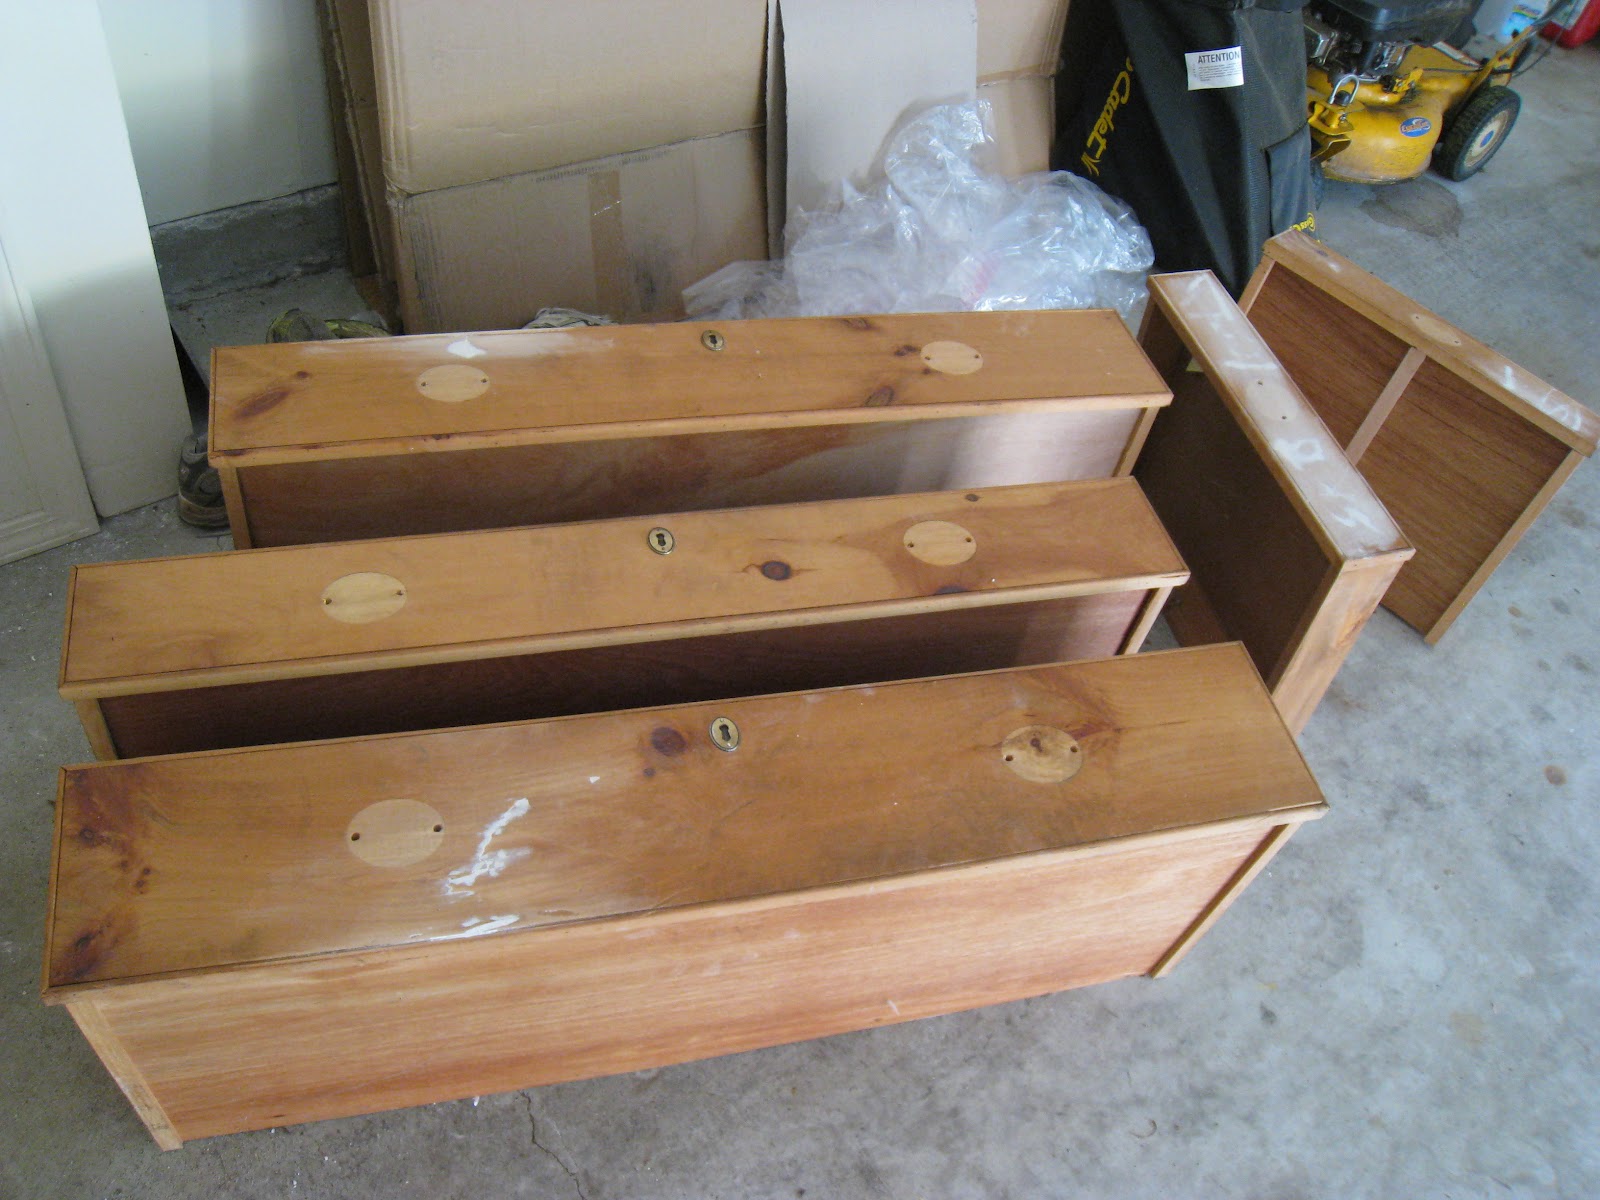
4. I also used the same tub of wood putty to put on the drawers to fill in any scratches that I knew would be evident when I painted.  I also waited for this putty to dry and then sanded it down smooth.  (Before I did this, I removed the pulls)

5. My friend Jen told me about this blog where the blogger repainted her credenza.  I literally did exactly what she did, only I used a different color.  I went out and bought this Zinsser primer ($17) and I brushed it on, doing about 2 coats.


6. While I was waiting for the primer to dry, I pulled out some Krylon ORB spray paint that I already had on hand for this lamp project and I used it to spray paint the pulls for Debbie.


7. I used Rustoleum's High Performance Spray Enamel in White ($6 per can, I used 2 cans) to spray roughly 3 coats of white onto freshly primed Debbie.

8. I used a paint brush and sprayed the ORB spray paint onto a paper plate and then dabbed my brush into it to paint the keyholes without getting any ORB paint on my freshly painted drawer.

9. I did a thorough cleaning of the inside of Debbie (don't forget, she was a dirty dresser - that topless thang!) and then reattached my pulls.  I had my studly hubby (and a friend) carry face lifted Debbie up to her new home in our guest bedroom.


  The Price Breakdown:
-Dresser - free!
-Wood piece for top - $18
-Wood Glue - $6
-Wood putty - $8
-Primer - $17 (I bought a quart with lots left over)
-Spray Paint - $6/can, I bought 2 so $12
-Sand paper - had it so free!
-ORB spray paint - had it so free!
Grand Total: $61!  
Talk about a CHEAP piece of furniture!

What a transformation!!!
With a little elbow grease and paint!

Here is Debbie the Dresser enjoying her new life in the guest room:

What about you?  Have you found any treasures that someone else has put out for trash???  Tell me about your adventures!

I'm linking up with: