Thursday, September 8, 2011

Where I spend most (let's be real: all) my time...

I figured that I live spend so much time in my classroom that it only seemed appropriate to show you what it looks like.  I have a thing for primary colors...I really like them.  In my very first apartment, I had different primary colored pillows for our couches and we decorated in primary colors.  It only seems appropriate for me to incorporate that color scheme in my elementary classroom!

This is a picture of me standing in back of my desk looking out onto the room...it's definitely lacking in size...we're getting to know each other reeeeaaallly well in the cozy space!


This is a view from me standing in front of the door looking into the room. 


This is a view of the white board.  To the right is our calendar, jobs and mailboxes and to the left is the "Who Is Mrs. Corsi?" board (which will later be turned into the "Star Student of the Week" board).

To the right of the white board

To the left of the white board

Here is our sink area...this is where their lunches hang out (if they brought them from home) until lunch, where they switch out their dull/broken pencil for a sharpened one, and of course, where they wash their hands :)

Here's our "book nook" and the site of all of our morning meetings and number talk discussions...that rug sure does look big but my big 4th and 5th graders definitely don't all fit on it!

Here are our student computers as well as our Mastery Club board...if you're a teacher and you haven't checked out Mrs. Renz's website, you definitely need to give it a look!

And lastly, here is a view of our SMARTboard (I have a chart taped to it for this particular discussion) with our lone window to the right (my desk sits right in front of it).

It's so funny how the room looks so peaceful when it's empty.  It's definitely anything but peaceful during the day, although I feel as though I'm starting to figure out day by day a teeny-tiny bit more on how to survive in a split classroom.  For the longest time I couldn't get them to stop talking.  Like, seriously?  Why won't you stop talking???  I figured out something today that surprisingly worked really well: I started talking very quietly so they had to turn off their voices in order to hear mine.  I was pretty impressed with such a simple solution...I know I sound like such a debbie-downer when I say this, but I only give this solution a short amount of time before they decide they really don't care to hear what I'm saying!  If you're a teacher, do you have a great website resource that you recommend I check out for some great classroom ideas?

In other news...
Stephen and I close on our house tomorrow!  AHHHHH!!!!  We had our walk-through tonight and I snapped a ton of photos.  These will be great for me to look back on after we've worked in the house and made it more of our home.  I'll definitely share the pics here on my bloggity-blog as soon as I get a moment...expect them before next week is over :)


Sunday, September 4, 2011

Checking in

Ahhhhhhhh!  What a relief it is to be back here in blogland!  I have missed the relaxation and creativity that blogland has to offer.  It has been quite some time since I've been here and I've missed it greatly!  I know that I let you all know that on Monday, August 1st I accepted a position as a 4th grade teacher here in Louisville.  At the end of my first week, I took on a new challenge that has just about eaten me alive: I no longer teach 4th grade, I now teach a 4/5 split.  Let me tell you, I'm currently living in my classroom and doing nothing but eating dinner and falling asleep on the couch when I come home.  I'm looking forward to {hopefully} getting my mind wrapped around what I need to do and how to do it so that I have more time to do the things that I really want to do (for all you teachers out there laughing while I type that, I realize that this is a seemingly impossible task...).  I have lots of projects just waiting to burst out of me and it's killing me that I can't do any of them at the moment...

Here's a list of the things that I can't wait to do (in fact I have just about everything I need to do them, except for the time):
-Finish up Charles the Chair and start on his twin brother (destination: living room)
-Refinish a chair that I got with Charles and his brother (destination: guest bedroom)
-Refinish my parents dining room suite that they are graciously giving us (destination: duh! dining room :))
-Make baby bedding; my sweet friend Traci is pregnant with twinsies (YAY!) and I have the honor of making her little boy and little girl bedding!  My sister-in-law, Cali is pregnant with a little girl and I have just about all I need to start working on her bedding.
-Make baby items: with babies coming, lots of baby products are in order!


...and it's official!  Stephen and I officially will be closing on our house this upcoming Friday!  WOOOO!!!  It's been a long time coming, especially since we made our first offer on the house on Thursday, June 9.  We've been camped out at my parents house and we can't wait to finally be able to officially unpack and know where all our stuff is!  Needless to say, this is a BIG project that I'm excited to be able to tackle!  

That's all for now - I won't be waiting so long to come back and share my projects and life here so be sure you come back and check often :)!

Wednesday, August 17, 2011

Applique Nursery Pillow Tutorial

A couple of weeks ago I guest posted over at Lemon Tree Creations.  If you missed that post, you can read it below or you can go here to see the original listing...

For those of you who don't know, my sister had a baby a little over a month ago.  I was so excited when my nephew came, as it gave me my first "biological" nephew and it gave me a reason to practice honing my skills at making baby bedding.  I've been feverishly working hard to get his nursery ready for him.

 
Pictures of the baby bedding, which inspired my nursery project

After making the bedding, I decided that I wanted to add some decorative touches to the room.  I decided that I was going to take the animals that were in some of the fabric and make an applique pillow.  There were all of these cute safari animals on one of the patterns of the fabric (the fabric I used to make the bumpers) and so I chose the lion as the inspiration for my pillow.  


Materials Needed:
-Inspiration for applique design (I used fabric from his bedding)
-Material for pillow (1/4 yard - I used basic brown fabric)
-Material for the background of the lion applique (1/8 yard - I used muslin)
-Fat quarter packs from Joanns in the colors you need (I got a yellow, orange, green and teal set because those were the colors in my lion inspiration)
-Floss and needle for appliqueing (I used brown floss)
-Ric-Rac for a decorative edge to the pillow (this is optional; I used leftover teal ric-rac from the blanket)
-Fusible interfacing
-Tissue Paper
-Pen
-Scanner
-Scissors
-12"x15" Pillow Form

What I did:
the logistics...
1. I took tissue paper and I traced the animal off of the fabric that I wanted to applique, in this case it was the lion.
2. I scanned the image into my computer and resized it to the size I wanted that would be big enough for the pillow.
3. I printed off the resized lion image and set it aside.
4. For my pillow cover I went on ahead and cut the three pieces of fabric I needed to make it (I made an envelope cover instead of one that zips on).  My pieces were 13"x16" (for the front piece) and then two back pieces, 13"x8" and 13"x14".  (for a step-by-step guide to making an envelope pillow cover, click here).
5. I took the 2 smaller back pieces of the pillow (13"x8 piece and the 13"x14" piece) and I ironed down a half inch down the 13" side of both pieces.  I then sewed it down to make a finished edge.

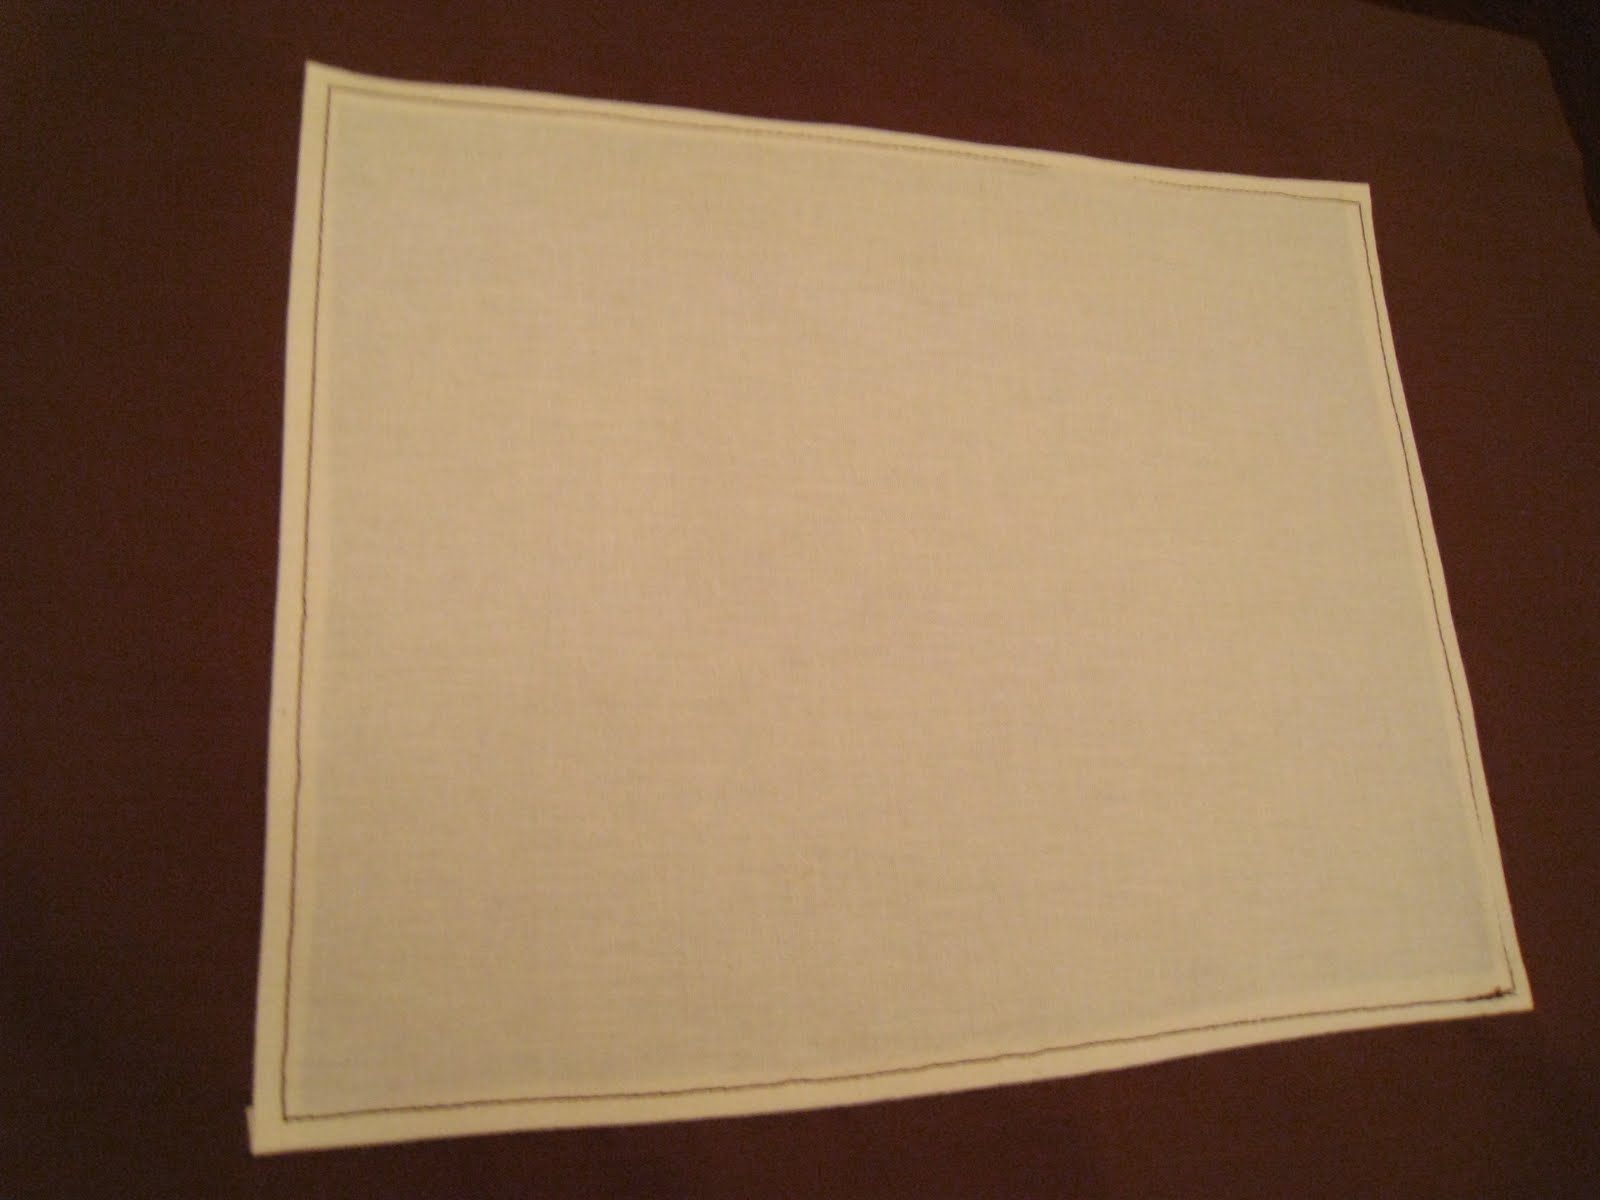
6. I used my printed out lion to decide how big of a piece of muslin I wanted to put as the background to my applique, in this case it was 9"x12".
7 I took my rectangle piece of muslin and ironed down about a 1/4" seam all the way around.  
8. I pinned my rectangular muslin piece to the center of the 13"x16" piece of fabric that would be the front of my pillow.  

9. I sewed the muslin piece onto the front of the pillow, being sure that I sewed close to the edges to catch the folded part underneath.

getting to the applique....
10. I took my fabric and figured out what pieces of the lion would be what colors (i.e. the body and face were yellow, the tail and mane were orange, etc).  I then ironed on the interfacing to the back of the colored fabric I would be using.
11.  I took my computer print-out of the lion and began to cut each piece - going off of color - (i.e. I cut out the body and worked with it; then I cut out the circle around the mane, then I cut out the mane, etc) and then proceeded to trace and cut it out of the coordinating fabric (with interfacing already ironed on).

12. As i finished one part of the lion, I cut out another part and continued to use that as a pattern to cut out the pieces from the coordinating color fabric for the whole lion design.


13.  I laid my cut out fabric out on the muslin and arranged it to look like the lion.  I then ironed it to the center of the muslin rectangle.

14.  Using floss and a needle, I hand-stitched a simple stitch all the way around the perimeter of each piece of fabric that made up the lion's body.


it all comes together...


15.  After the applique was hand-stitched, I took my ric-rac and pinned it all the way around the perimeter of the piece of fabric that would make up the front of my pillow, on the right side of the fabric.  I made sure that the ric-rac was "hanging off" the edge of the fabric.

16. I sewed on the ric-rac.
17. I then proceeded to take my two smaller back of the pillow pieces and pinned them, right sides facing in, to the front piece of the pillow.
18. After pinning, I sewed all the pieces together, following the sewn line that I had just made when sewing on my ric-rac.

19. I turned my pillow right side out and fell in love with it right away!


I couldn't be happier with the result and I can't wait to see this pillow in action as it livens up the baby's room!  Pillows are a wonderful way to liven up any room, and an applique pillow is great for a beginning sewer.  If you have any questions when following this tutorial, don't hesitate to ask; I'd LOVE to help you!
Whenever I get a chance and a break from life (hahahaha!) I'm going to do this exact same project, only with the giraffe instead.  Come and check out my blog and see how it turns out!  

Tuesday, August 16, 2011

Showering a Friend With Love

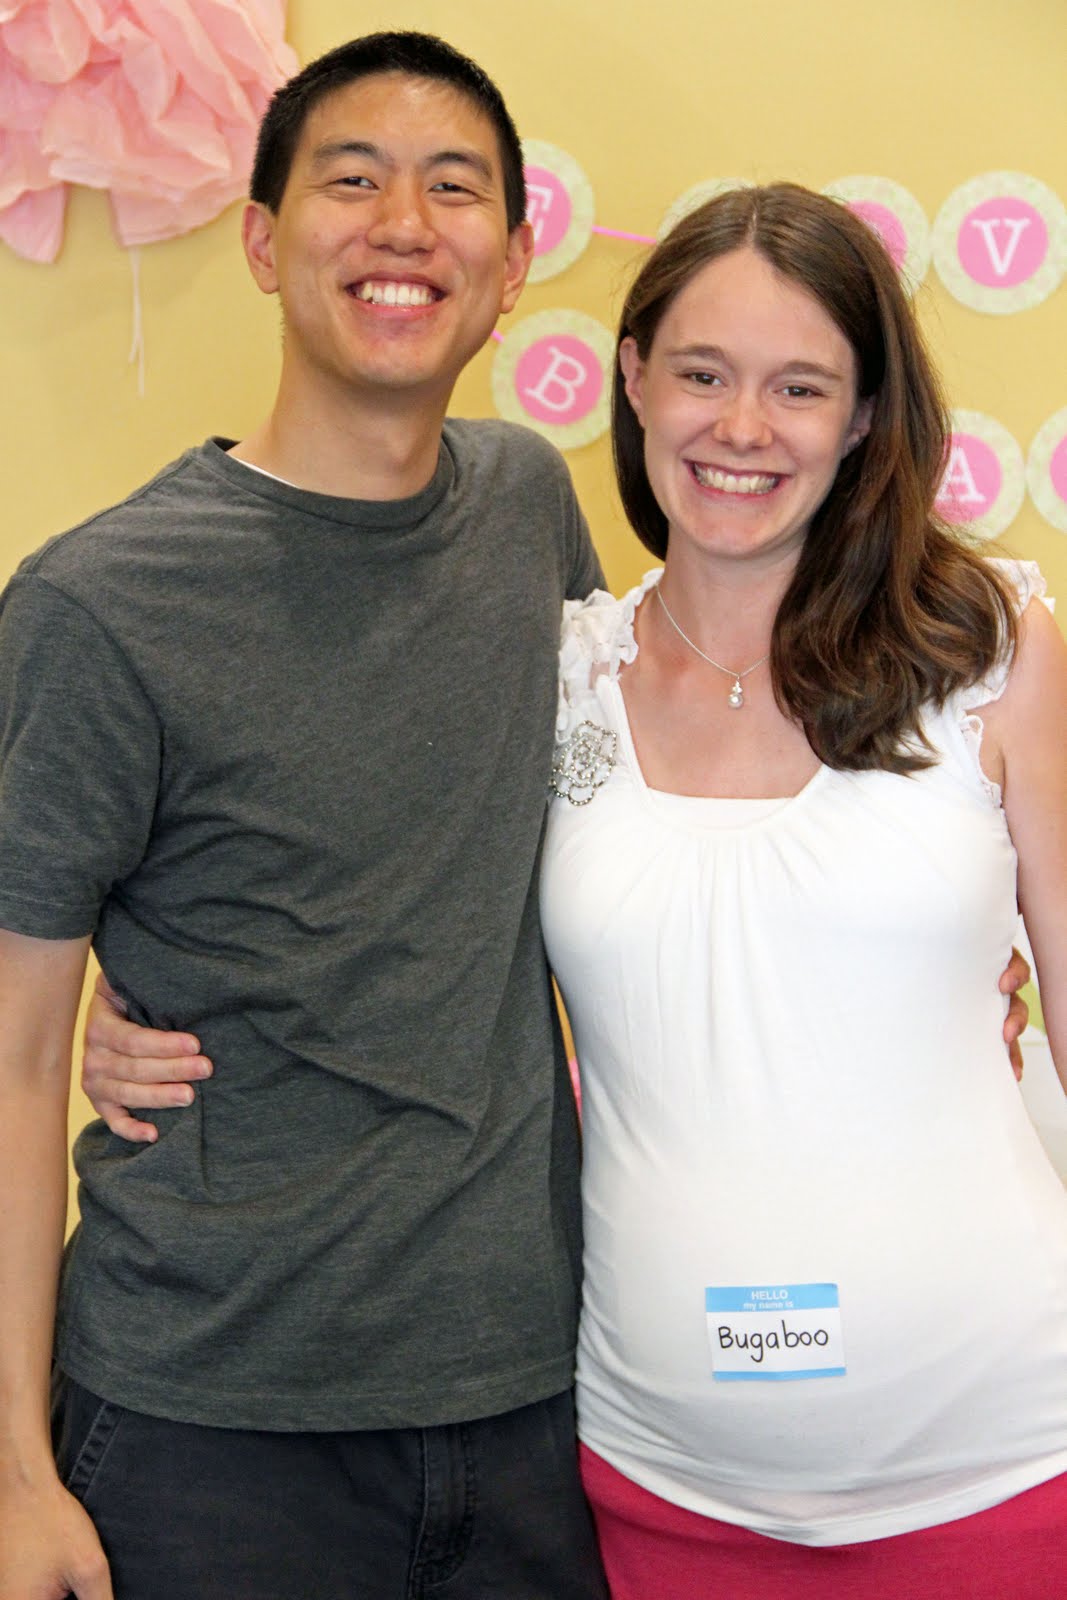
Meet my dear friend, Amanda:
I met Amanda through Stephen when I moved to Chicago.  Stephen and Amanda's husband, Mike are in the same small group and are close friends.  Mike was a reader in our wedding and I have never heard Stephen say anything but great things about him.  When I moved to Chicago, Amanda welcomed me with open arms and it wasn't long before we were close friends.  She is energetic, determined, loving, caring and compassionate.  Better yet, she's all these things in the name of the Lord.  I absolutely, positively LOVE Amanda.  When Amanda decided to join our small group a year ago, I was ELATED!  I was now going to get to see Amanda on a regular basis ALL the time!   EEEEEEEEEEEEEEEEEEEEEEEE (the sound Amanda makes when she's excited)!!!

Meet Amanda and her dear husband, Mike:
At our household, we absolutely love these two.  We love them so much that we let them help us move...hahahaha, yeah right.  That's one of the reasons we love them so much: because they helped us move; because they are always looking for ways to bless other people.  Did I mention that Stephen and I love these two???

Meet Mike and Amanda's future baby girl, Bugaboo:
Ever since Amanda and Mike spilled the beans about this little girls arrival into our world, we couldn't get enough!  I knew right away that I wanted to help throw a shower for Amanda because I wanted a chance to shower her with love and blessings that she had shown me on a daily basis.

Insert good friends and ladies of my small group.  These wonderful ladies joined forces with me and we successfully threw Amanda a shower that we were hoping would knock her socks off!  It was absolutely SO much fun thinking of ways to surprise and love on Amanda, mainly because she is a girl with no expectations.  She expects NOTHING for herself, meaning that we could have shown up with a bag of Doritos and Amanda would have been so thankful to us for providing food.


We threw Amanda her shower at church, as this was the only shower that she had and it was going to be a well attended one (40 peeps, holla'!).  We wanted to take away the feeling that you were in a church room and make it feel very intimate and home-y.  I think we did a good job (if I do say so myself!).  Let me share with you some of the details from the shower:

With 40 people coming to this shower, we did all that we could to cut the costs wherever we could.  One of the ways we tried to cut the costs was with the cake.  Thankfully, my sister-in-law makes cakes on the side and she showed me how to do it when I threw a shower for my sister back in the spring.  These were box cake mix cakes from Aldi.  Here's what I did: I made a 3 layer cake using 9" cake pan.  I then took store bought icing and layered the cakes as well as iced them on top.  After icing the entire cake, I added a top layer.  The top layer is a marshmallow fondant using a variation of this recipe.  I followed the technique used in this video to put my fondant on top of my cakes.  I saved some fondant to color (the pink and green) and then rolled it out and cut into different size circles using cutters I bought at Michaels.  I used food coloring to dye leftover white icing (pink and green) to pipe around the bottom of the cakes.  The pink cake is a white cake with white icing while the green cake is chocolate with chocolate icing.  Seriously people, this wasn't hard - it was just time consuming!

Here's our wonderful spread of food.  There was so much goodness on this table that just remembering it makes me hungry.  That caprese-like salad that you see in the front was store bought from Costco and it was GOOD!  If you shop at Costco, look for this salad, buy it and enjoy it for me!


Here are our decorations adorning the middle of the food table.  I made a banner using my beloved Silhouette and then my friend and fellow hostess, Amy made tissue paper pom-poms to cover up the sticky tack used to hold it up.  The print in the middle was our gift to Amanda.  This owl design is from fabric that Amanda used to create Bugaboo's baby bedding.  My sweet friend and fellow hostess, Debbie (who is a graphic designer) took the fabric and made this print that was then used for the invitations.  Amanda loved the print so much that we sent it off to the printers and had it blown up.  We then went to Hobby Lobby and got a mat custom cut for this poster (have you ever done this?  Hobby Lobby is the bomb-dot-com and a custom cut mat is NOT expensive).  The picture frame came from Michaels during one of their huge sales that included frames (lucky for us!).  Now, that picture is hanging in Bugaboo's room and goes splendidly with her bedding.

We went a simple, yet colorful route with the table centerpieces.  Amy took ball jars and used scrapbook paper and yarn to add a splash of color to them.  She then went out in the wee-hours of the morning and stole cut beautiful hydrangeas and other flowers from the yard of her apartment building.  The white table cloths were from the dollar store (score!) and the balloons came from the grocery store.  In an effort to save time the day of the shower, I stopped by the party store the day before and bought balloons for the big day.  It was an incredibly hot July day and as a result, as I tried to stuff these balloons into the car, I lost 3 of them as they touched the hot exterior of the car.  I then awoke on Saturday morning to the remaining balloons hovering low, right above the floor as I glared at them and their failure to last even 24 hours.  Thankfully, Amy was willing and able to pick up new ones at the grocery store right before the shower.

To the left is a picture of the favors that were put at every seat on the tables.  The little sign on the left is a votive candle that I hot-glued "Pray for Mama and Baby Shih" to the bottom (you guessed it! I used my Silhouette).  Amanda really wanted her guests to have a candle that they could light when they found out she had gone into labor.  The idea is that they will see the candle and use it as a reminder to pray for her while she is bringing this sweet baby into the world.  The brown bag is filled with color coordinated Sixlets that were picked up from the party store.  I cut out onesies and then glued plastic to serve as a window into the bag.  
The picture on the right shows the table that people saw when they came into the shower.  It was decorated with more of Amy's beautiful pom-poms and a huge calendar of September (the month the baby is due) to make a guess of when they think the baby will come.  Whoever guesses the time closest to Bugaboos actual arrival will receive a prize for being so good at fortune telling baby deliveries!


A picture of one of our games - 1 minute to fill in the blanks regarding popular Nursery Rhymes.  The one who had the most correct in 1 minute won!  If you'd like me to send you a pdf of this, shoot me an email - it's a great, quick game to play at any baby shower.


Needless to say, we had a fabulous time celebrating Amanda's soon to be entrance into Mommy-hood and the soon to be arrival of Bugaboo.  Stephen and I can't wait until she makes her debut - we're headed  back to Chicago to meet this amazing little girl! 

(all pictures are compliments of my sweet friend, Amy.  Kudos to her and her awesome photography skills!)

I've linked up to THESE parties this week (As well as Today's Creative Blog, The Thrifty Home, Savvy Southern Style, Sew Much Ado )